Pages

Sunday, January 24, 2016

Pin Sights Challenge at Ellen Hutson


Hello!

Today I am sharing a card I made for the current Pinsights Challange over at the Ellen Hutson CLASSroom blog.  Check out the inspiration photo! It is just amazing!  So many beautiful photos with such deep reds and sprinkles of pink thrown in.  I tried to capture that with my card today.
Januarypinsights


I used the folk heart dies to create the inlaid hearts in varying shades of red, white and pink.  The sentiment and arrow are from the Love you so stamp set.  The Pretty Pink Posh sequins add a finishing touch.

One more Valentine card down, how many more to go??
Thanks for stopping by!  If you are on the east coast, hope you are staying warm and safe.  We here in the Pacific Northwest are enjoying some sunshine and 50 degree weather!
-Laura

Sunday, January 17, 2016

Valentine's Day cards

Hello!
I'm happy to be sharing a couple of Valentine's Day cards with you.  I finally had a little time to play in my craft room and was glad to get a couple of cards made!


My first card uses a couple of Essentials by Ellen products.  The stamp set Bokeh Dots designed by Julie Ebersole is such a fun and versatile set, it can be used for so many different types of cards.  I stamped three of the scribbly circles in HA pink to red ombre ink. The heart is from the folk hearts die set and the sentiment is from the Love you so stamp set.   Even the tiny little dot that is scattered around the card is from the Bokeh Dots set - I think it really adds some interest to the card.  You can't tell from the picture, but I covered the heart with some clear Wink of Stella before mounting it with foam adhesive.


The second card uses a fun technique that I haven't done in a while.  I first applied a white pigment ink to a heart stencil on some kraft paper, and then shifted the stencil slightly to the right and down, and applied Memento Lady Bug ink over the top.  The result is a fun dimensional look while remaining completely flat.  The sentiment is again from the Essentials by Ellen Love you so set.  I also used Julie's trick of adding stickles to the edge of the panel.  I love the way it adds just a nice finishing touch to your card.

Thanks for checking in!  I know I haven't been posting much lately, but maybe my determination to send out Valentine's Day cards will help!
Have a great day!
Laura

Saturday, January 2, 2016

Thank you cards

Hello all,
I finally got some time to play in my craft room and I was able to get some thank you's made.  I still have quite a few to go, but at least some of my friends and family will get a timely thank you for the nice gifts they gave us this Christmas!

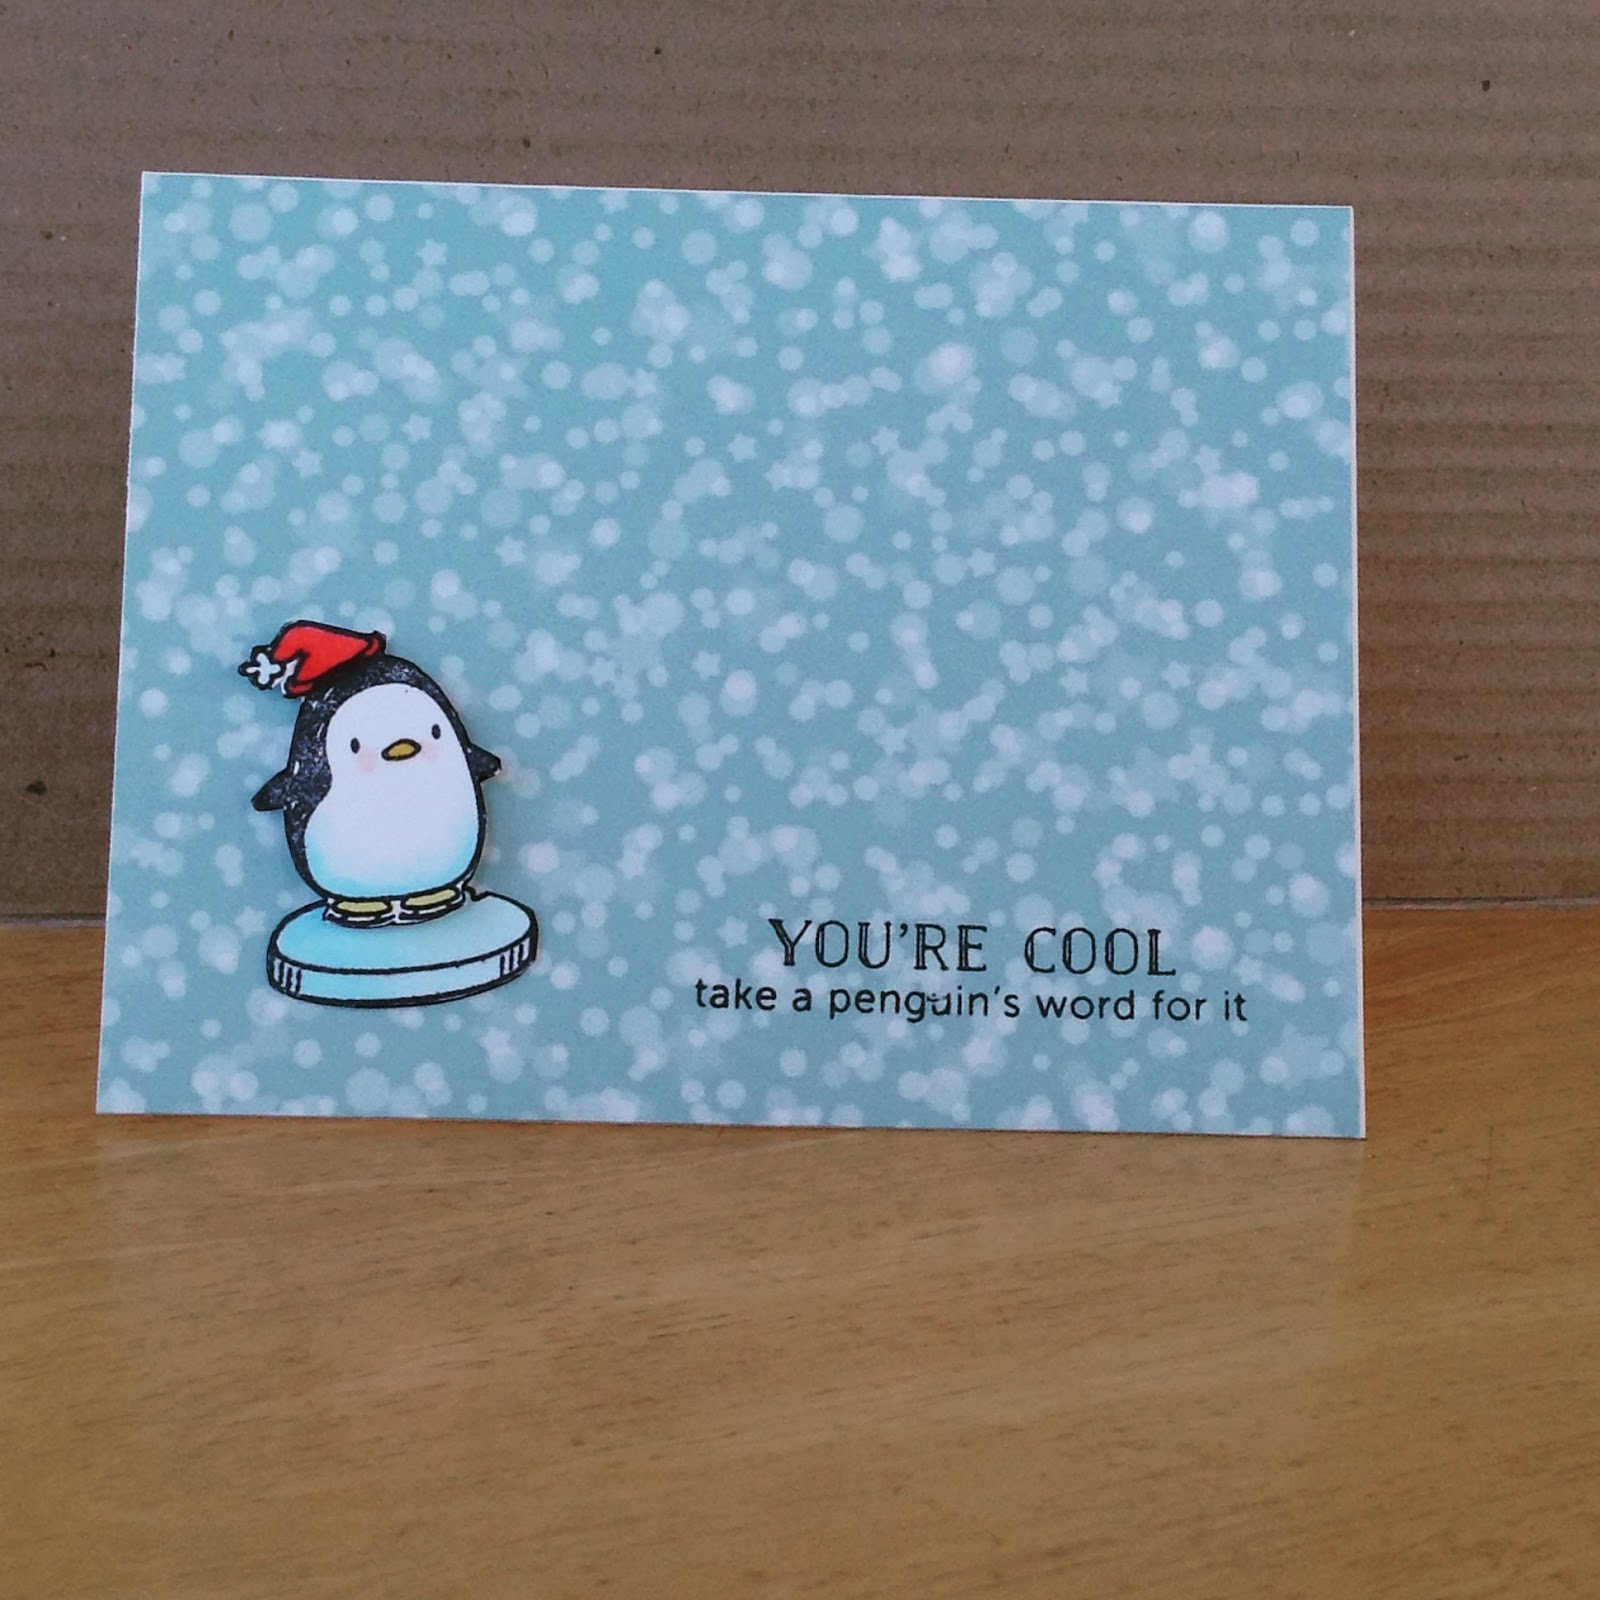
This first card has the cute Mama Elephant penguin floating on a piece of ice with the Lawn Fawn Lets Bokeh in the snow paper as the background.


The second card uses the HA diagonal stripe background to make a plaid pattern.  I used the pink to red ombre ink pad first, then turned the stamp and used soft pool ink to stamp it again, creating that great plaid!  The thank you die cut is one of my favorites, also Hero Arts.


The third card uses the Lawn Fawn notecard in walnut as the base, and I die cut the Avery Elle stitched circle tag from white, then stamped the wreath design using Savvy and Impress stamps.


Hope you all have a Happy 2016 - may it be the best crafty year ever!
Laura


Sunday, December 6, 2015

Happy Birthday Lisa!

It's a Birthday Celebration!!  

Today is Lisa Lara's special day, and a bunch of us Pacific Northwest Crafters are getting together to help her celebrate!   You may know Lisa from her blog - Lisa's life lines where she shares her creativity with the rest of us.  She is an amazing colorist, and I love to watch her talent when we get together on crafty days.  

In trying to come up with a card to make for her, I decided the card needed to be like her - Fun and Happy and Cheerful!  So here is what I came up with:


The flowers are from Paper Smooches and I used my HA ombre inks get the fun shading.  I white heat embossed the flower centers and popped them up with some foam tape over a dry embossed dotted background.  To create the 'happy' I swiped the ombre ink pad over some white paper, and then die cut the word.  This results in some shading for your die cut words.

Be sure to hop around to the other PNW crafters who are also celebrating Lisa's Birthday and see what they have in store.  Then head over to Lisa's blog and wish her a very happy birthday!

Amy
Toni
Tonya
Kimberly
Lenae
Lisa    <<<<<Birthday girl


Happy Birthday Lisa, I hope you have an amazing day, my friend!

Thanks for stopping by,
Laura

Saturday, November 14, 2015

OCC Day 5

Day 5 in class was all about Cute and Whimsical!! Such adorable projects they shared, I just loved them all.

I based my card off of Nicole's cute snowbank scene.  I used the new HA stamp and cut set - Santa's Elves.  So cute!!


I colored the cute elf with my copics and added him to the snowbanks along with some presents.  The snowbanks were cut with the Lawn Fawn stitched hillside borders.  I tried to add some snow to my ink blended background by stamping with white pigment ink like Nicole showed in the video.  I'm not sure why it didn't show up that great - maybe I need a different white ink??  But overall, I think this it turned out really cute!  The little elf is all ready to help Santa deliver those presents - if only he can find them in all that snow!

I hope to make a few more cards in the Cute and Whimsical style - they are so fun!
Have a great weekend!
Laura

OCC Day 3

I am catching up with my 'homework' from the online card class - Holiday Style.   Today's card is from day 3 where the theme was Classic and Elegant.

I had a different idea in my head when I started this card - but I still like the way it turned out.


The background is HA Winter Trees Scene and the sentiment is from the new Holly Jolly stamp set from Essentials by Ellen.  First I had the vellum layer the same size as the card, thinking it would soften the background.  But then I wasn't sure how to attach the vellum piece to the card!? So I thought of cutting a tag shape instead.  I used the Avery Elle circle tag die and was able to use a glue dot hidden behind the ribbon to attach it.   My first attempt at the sentiment was to emboss it in gold, trying for more of the classy/elegant look. Somehow the gold didn't look quite right, so I ended up with a white sentiment instead.  

Thanks for stopping by!  Hope you are able to catch up with your class homework this weekend too!

-Laura

Wednesday, November 11, 2015

Holiday Card Class Day 1

Hello!

I am sharing two cards I made for the online card class - Holiday Style.  The first day was all about clean and simple.  Laurie showed us how to create a card using the rule of thirds. Blend color on one third of your card and leave the other two thirds white, but with some interest.  I added score lines to my white space to add that interest.  


Both cards used distress ink for the bottom portion.  The red card's sentiment is HA and the poinsettia is from spellbinders.  The blue card's sentiment is PTI and the snowflakes are Lawn Fawn.

These were fun to make, and pretty easy too!  
Thanks for checking in!!
Have a great day!